


How to Fibreglass a Pond or Water Feature Properly
Thinking of building a pond? Ditch rubber liners, they crack. Go with fibreglass for a rock-solid, seamless shell. But beware: mess up the install, and it is a sticky nightmare. Here is how to do it right.
The Groundwork: Prep Like Your Life Depends on It
I cannot stress this enough, fibre-glassing is 90% preparation and 10% actually laying down the resin. Seriously. If your base is dirty or damp, the fibreglass simply won’t stick. Period.
- Strip and Clean: Drain everything, rip out old rubber liners, and scrub the bare concrete or blockwork.
- Smooth Things Over: Grind down any sharp protrusions. Fibreglass matting absolutely hates sharp angles. You want a rendered, slightly textured finish.
- Let It Dry: Check the weather forecast. Any moisture trapped underneath will cause bubbling and ruin the curing process.
Skip the DIY headache and call the experts. That Pond Guy is a trusted specialist handling everything from full builds to seamless relining. If you are searching for a reliable Buckinghamshire pond fibreglassing expert, connect with their team directly. They ensure the structure is perfectly prepped and bone-dry before applying resin, completely saving you from a stressful DIY disaster.
Priming and Cutting
Once everything is bone-dry and swept clean of dust, apply a proper G4 or polyester primer to seal the concrete. This stops nasty pollutants from leaching into the water later. While the primer gets tacky, usually 30 to 60 minutes depending on the sun, pre-cut your glass fibre Chopped Strand Matting (CSM). A heavy-duty 600g single layer or a double layer of 450g works best. Cut them into manageable, square-meter sheets.
Tip: Make sure you allow a 5cm overlap where the sheets meet so you don’t get weak spots.
The Sticky Business (Laminating)
Now for the fun, and slightly frantic part. Mix your polyester resin with the liquid MEKP catalyst. Do not mix too much at once, or it will harden in your bucket before you can even use it!
- Lay your matting down and use a polyester roller to drench it in the mixed resin.
- You will see the matting turn from bright white to translucent. That is good.
- Crucial Step: Grab a metal paddle roller and roll over the wet laminate with some serious elbow grease. This forces out trapped air bubbles. Air pockets are the ultimate enemy here; they cause weak spots that crack under water pressure.
Finishing Up
Let the laminate cure completely (usually 12 to 24 hours). Once it is hard, feel around for any rogue, spikey glass strands. Sand those bad boys down and wipe the dust away with an acetone rag.
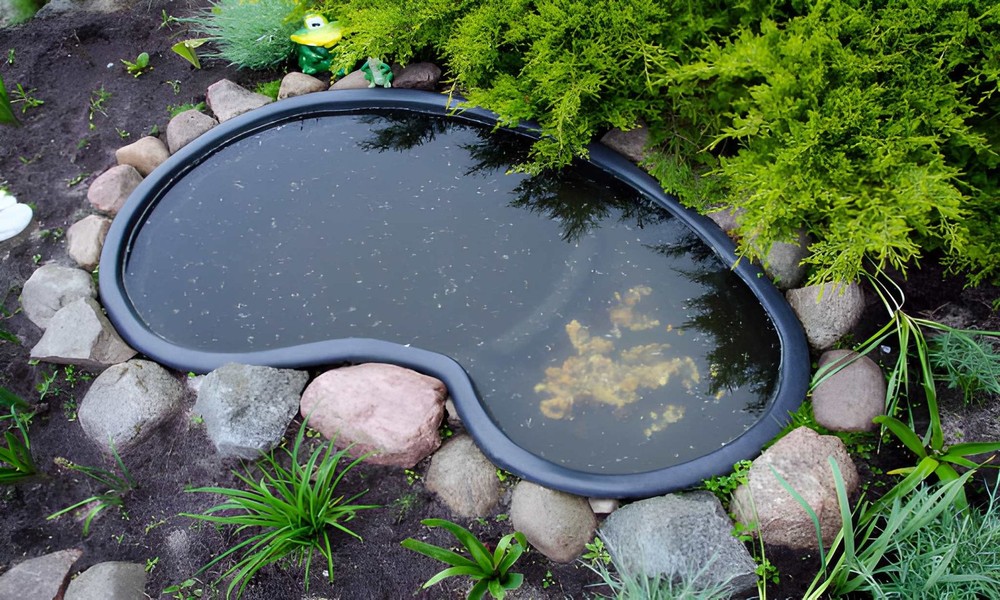
Finally, mix and apply your topcoat (also called flow-coat). This seals the fibreglass from UV rays and gives it that beautiful, smooth colour, usually a sleek dark grey or dark green. Keep the coat even; if you put it on too thick, it can become brittle and split. Give it a few days to fully cure, give it a quick rinse, and boom, you have got a bulletproof water feature ready for fish!